Basic Usage Process
1. Windows Server Deployment
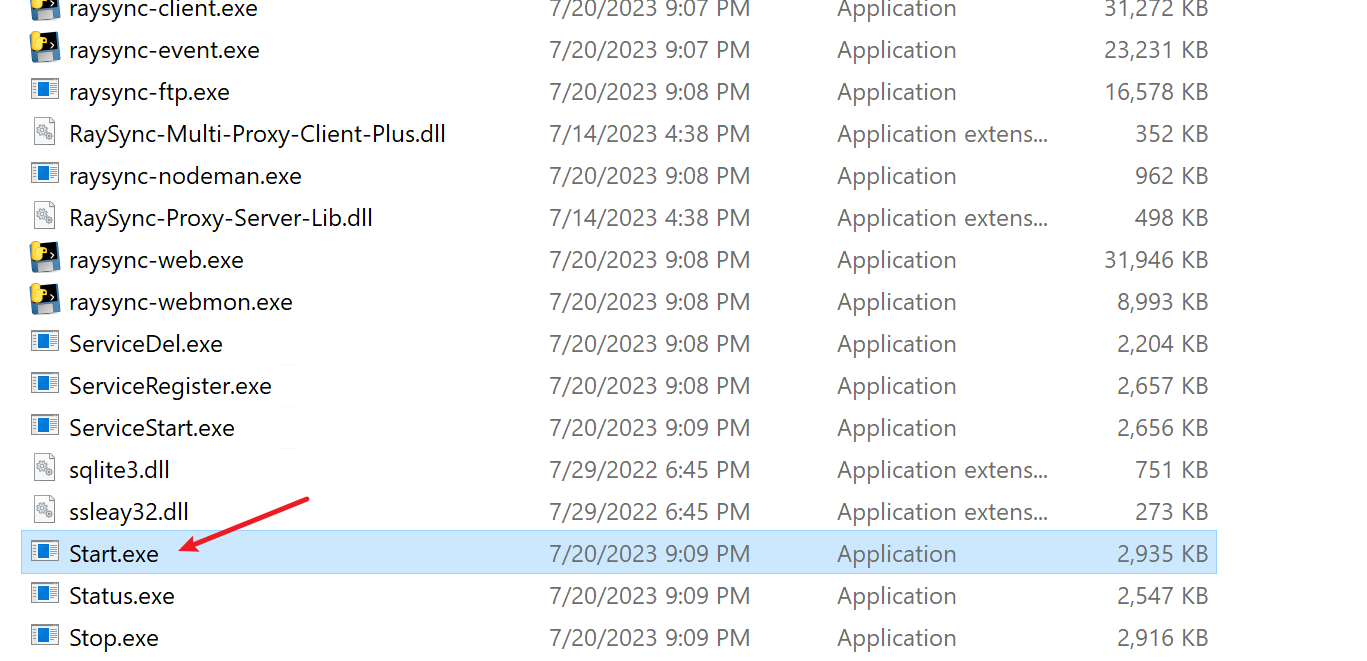
- Unzip and start service: Unzip the downloaded Raysync server package into your server, enter the directory of Raysync, and double-click
Start.exeto start the Raysync transfer service. During the startup process, just click Confirm according to the system prompts.
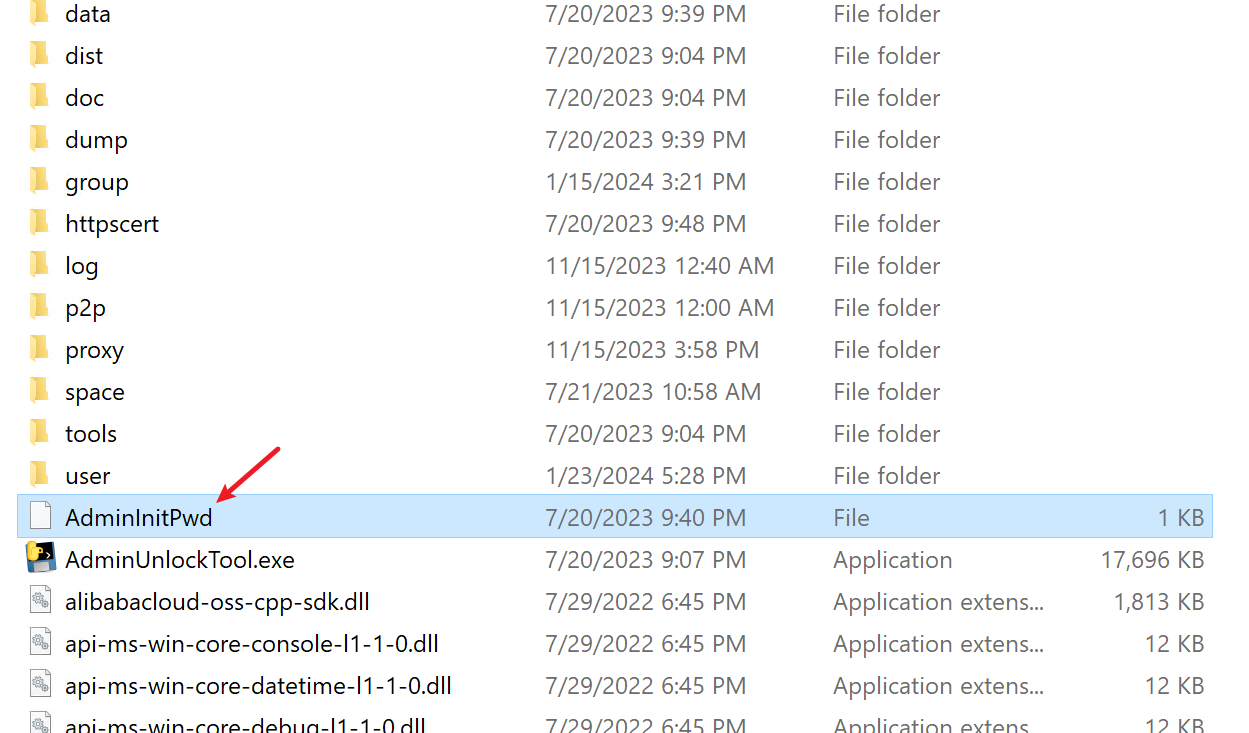
- Initial password: After the Raysync service is successfully started, an
AdminInitPwdfile will be generated in the installation directory, which records the initialization password of the default administrator (Account:admin), which can be opened and viewed with Notepad.
📌 Note: Auto-start on boot (optional): If you need to implement automatic startup of Raysync service at boot, you can execute ServiceRegister.exe to register the Raysync service as a system service.
2. Linux Server Deployment
Step 1: Unzip the installation package
$ tar -zxvf RaySync-8.1.8.6-SMB.tar.gzStep 2: Installation
$ cd RaySync

$ ./install.sh
The execution result is successfully installed, which means the installation is successfully initialized and the Raysync service is added to the boot-up.
Step 3: Start Server
$ ./start.sh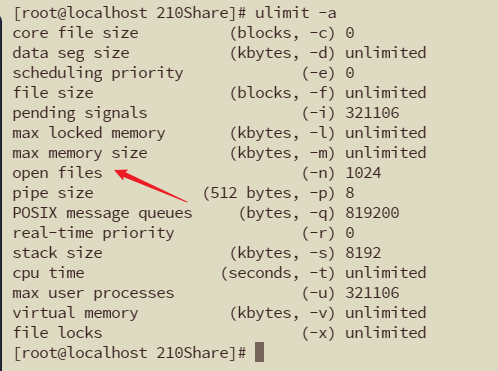
Edit the limits configuration file:
vi /etc/security/limits.confAdd the following lines:
* soft nofile 65535
* hard nofile 65536
root soft nofile 65535
root hard nofile 65536
3. Access Address
Login Admin Portal
Access address example: If the server IP is 172.16.5.77, then the Admin portal address is: http://172.16.5.77:9090/admin
Initial administrator account: admin
Initial administrator password:
- Windows: After starting the service, open the
AdminInitPwdfile in the installation directory to check the password.
- Linux: Run the following command in the server to view the password:
cat AdminInitPwd

Login User Portal
Access address example: If the server IP is 172.16.5.77, then the User portal address is: http://172.16.5.77:8090
If you need to log in, please create a user account in the Admin Portal first.